Surfset Epoxy Repair kit Instructions
This is a guide only
Please only use epoxy on EPS blanks as polyester resins will melt or eat the foam, Epoxy can be used on a polyester resin board also
Starting out:
EPS boards will take on water when damaged, try to get out of the water as soon as you see a ding in your surfboard.
The area of the board where the ding is to be repaired needs to be completely dry and clean. Sometimes even worth leaving the board for a few days so you can drain the water that has taken into the blank.
All of the dinged area needs be without fractured fibreglass, lose paint or broken EPS beads. Please check that there isn’t any sand and wax in the area to repair.
Using the sanding disc provided, sand the damaged fibreglass, paint and foam that needs to be removed and blend the ding into the rest of the board.
preparing the mix:
The Surfset Epoxy kit is a 2:1 part ratio ( 2 part resin (part A) to 1 part hardener (part b)).
First step is to make sure you have everything ready as you will have only 15min before the resin will start its chemical reaction to make the resin hard using the measuring tubes work out how much resin you need and remember that you only half the amount of hardener to resin.
Make sure you mix it well, scraping the sides and the bottom of the container while mixing will make sure the resin goes off correctly.
Add the Qcell powder to the mix if needed to fill the hole and make it easier to sand.
Think of “toothpaste consistency” when mixing the Qcells into the Mix. Ensure the Qcell powder is completely mixed through prior to filling the ding.
If a ding is 20mm or deeper, it is a good idea to the repair the ding in two stages.This will reduce the heat created during the curing stage and avoid the foam being affected by the heat.
Another good idea is to tape the area to be repaired, making a dam to stop the mixture from spreading over the board. Add little amounts of the mixture at a time, this will help fill in any voids and bubbles that are created.
Make sure the mixture sits slightly proud to the board to make sure that the repairs will be faired in.
Once the ding is filled and checked for air bubbles, leave it to cure. When the mixture has cured, use the sanding disc to sand the repair. Sand the mixture smooth and slightly lower than fibreglass and the repair can be faired into the board
.
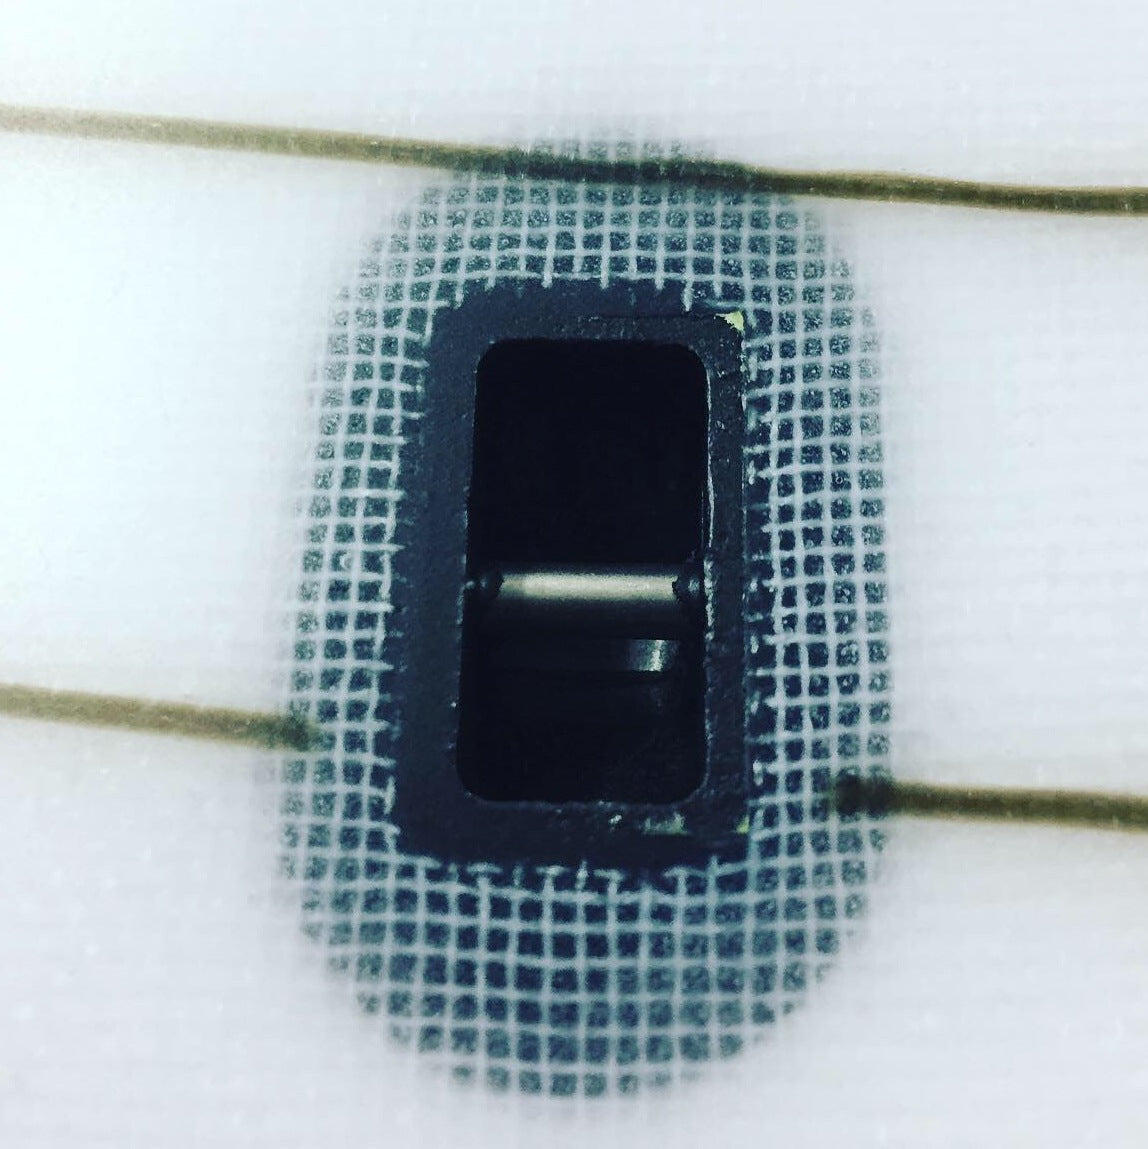
Look at the shape of the ding, cut out the fibreglass in a rounded shape to fit the dinged area.
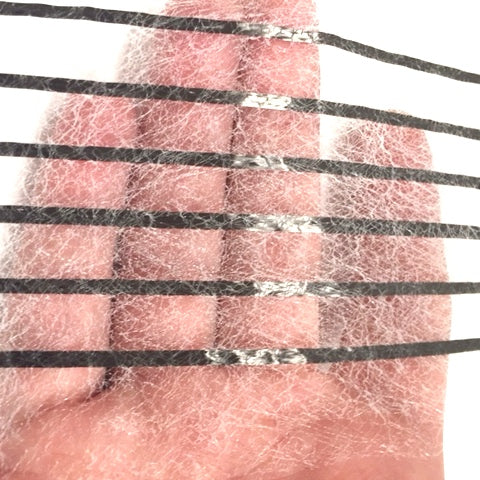
Mix up the resin and hardener the same way as per step 2 but without adding the Qcell filler, apply a thin coat over the sanded area, add the layer of fibreglass and make sure it saturates (glass goes completely clear when fully wet out).
Add extra layers of fibreglass if needed to improve the strength of the repair, to do this repeat the process – thin layer of mixed resin, fibreglass and make sure it goes clear.
Make sure there isn’t any air bubbles, use squeegee to push any out of the repair, leave to cure, mix up a small batch of resin and hardener and using a brush, paint a layer over the top of the repair.
Leave it to dry this will take 2-4 hours depending on the temperature..
Once fully dry, use sandpaper to remove any lumps or jagged fibreglass pieces and shape the repair its smooth and well blended into the board. If desired use 500-1000 grit wet/dry paper to create a smooth and shiny feel.
Your board is now ready to surf!
Safety and First Aid:
Please remember to always take care and apply safety measures when using these products. We suggest the use of protective gloves, masks and eyewear when working and handling these products. Please refer to the label on the epoxy resin and hardener for safety measures and first aid information.